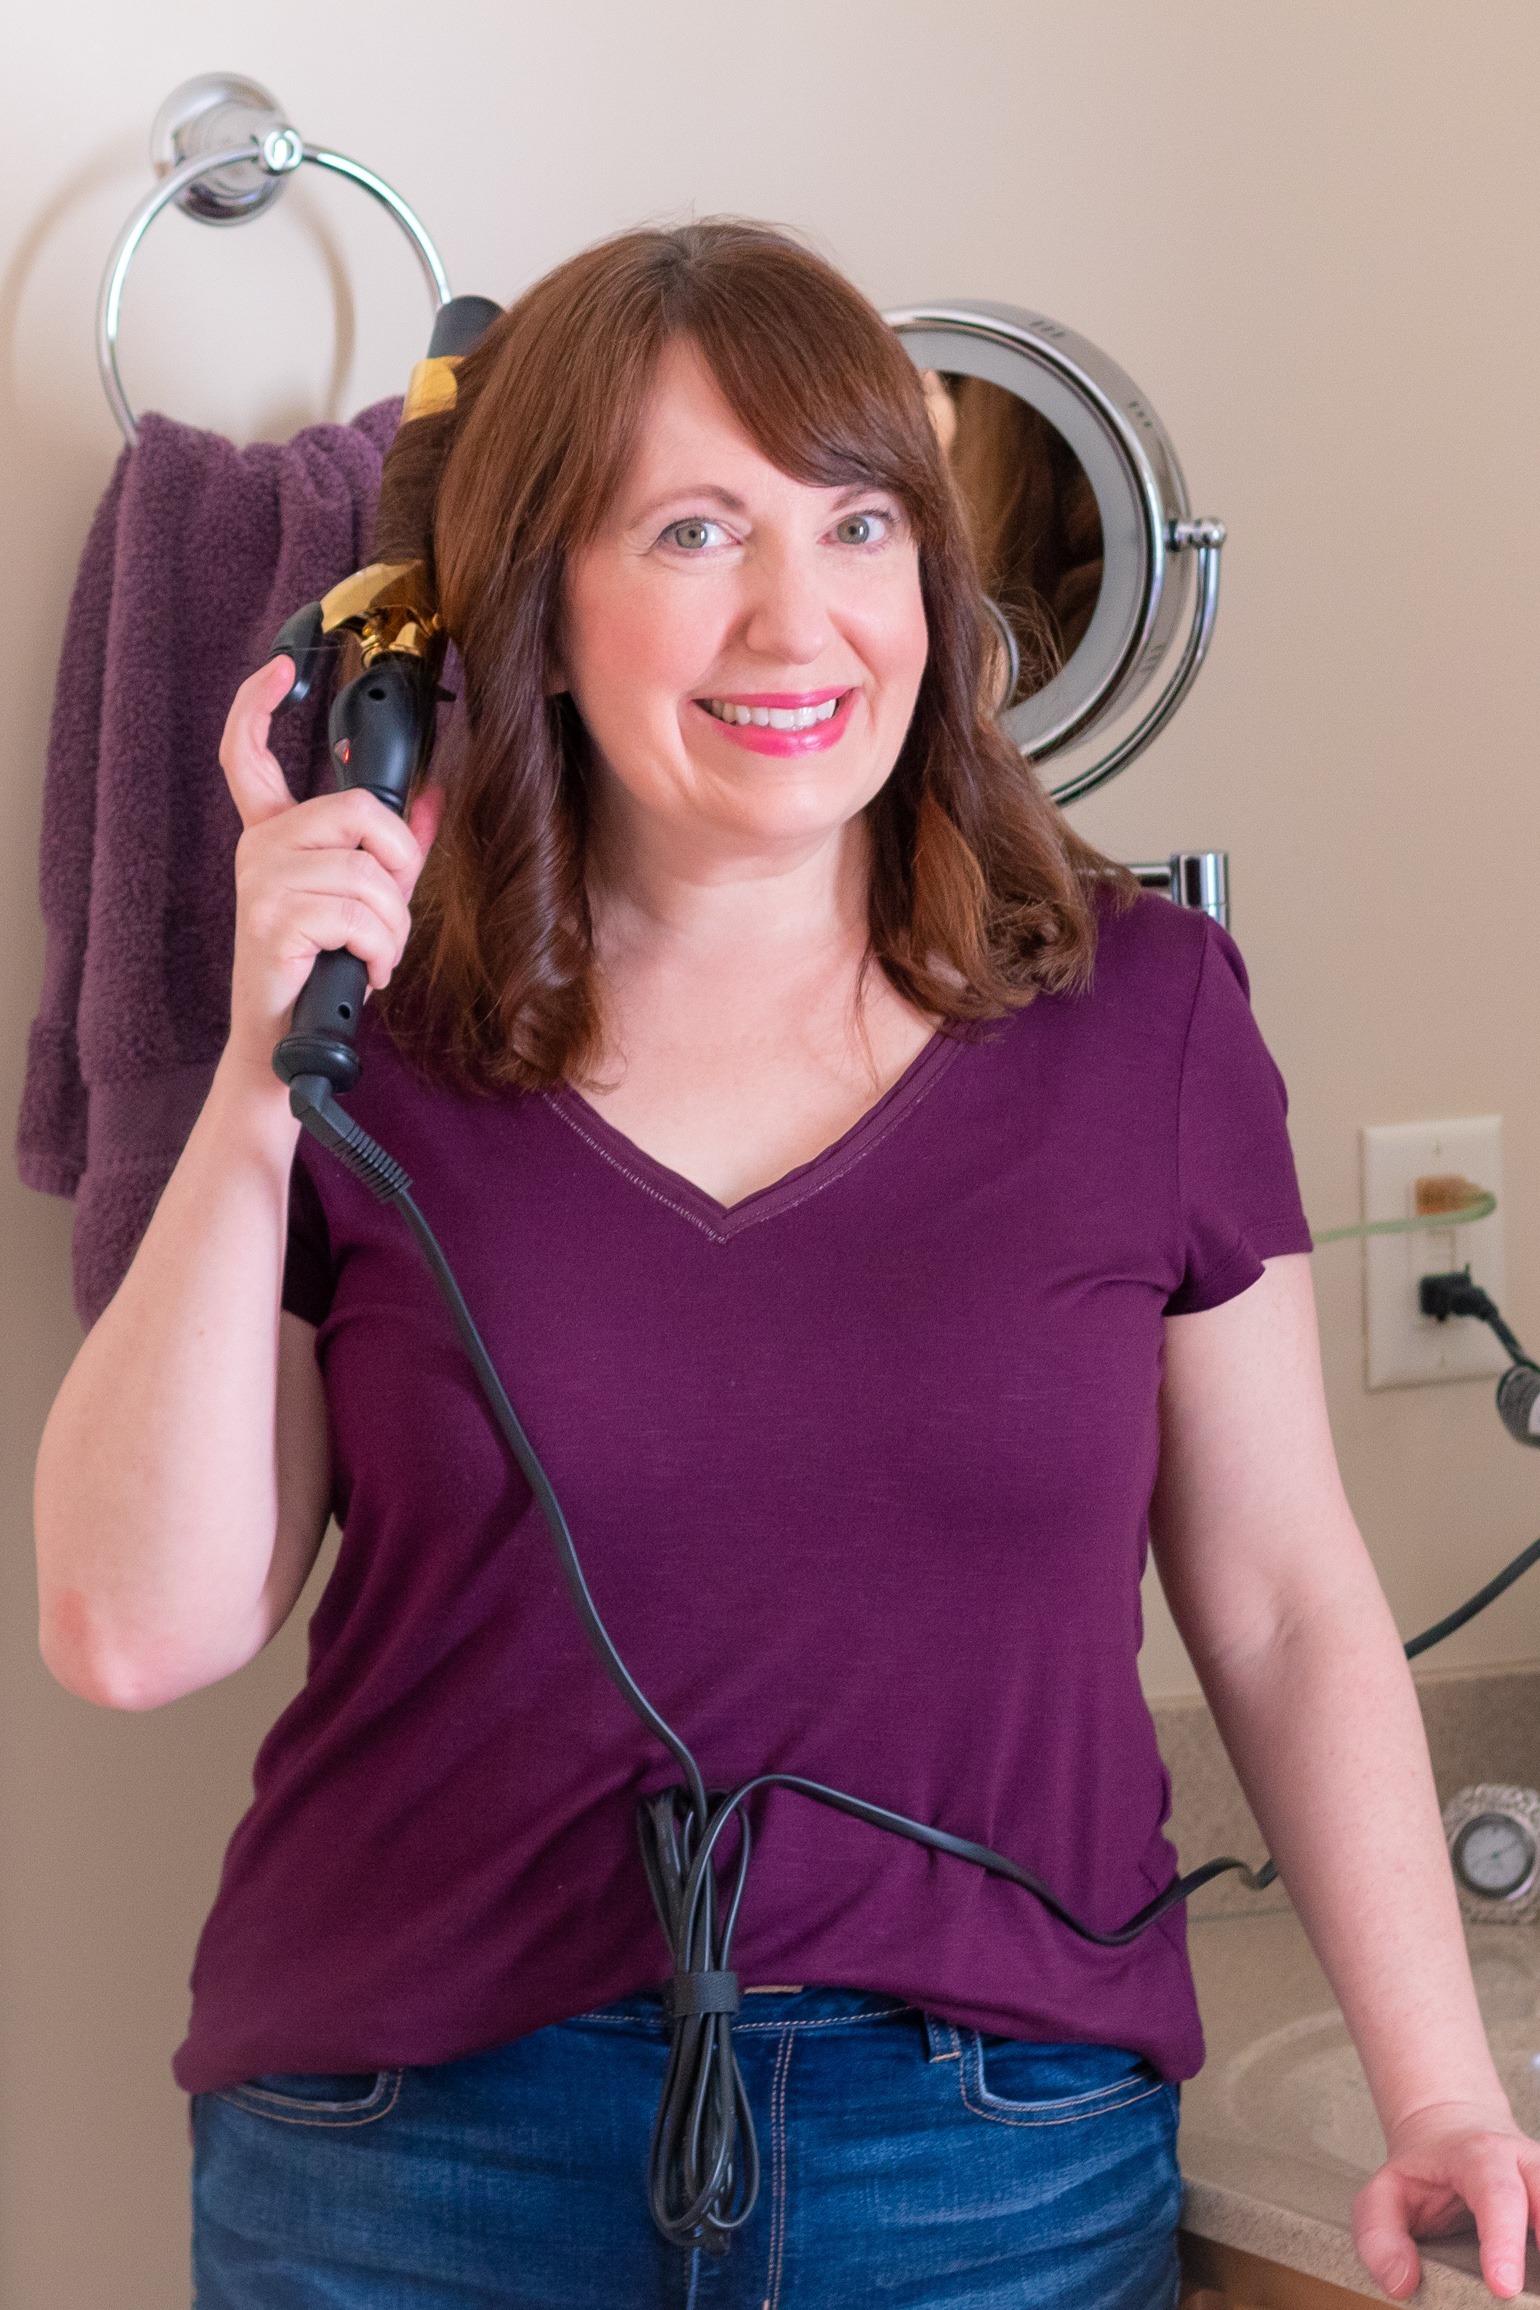
I am not the best at styling my hair. It is just not my speciality. I used to use a curling iron some when I was in high school but got out of the habit when I got older – and decided to be content with my straighter hair.
Yet, I love how my hair looks after my stylist curls it. Plus, I love the look of the loose waves that that seem to be so popular now. So, I finally decided to make it a priority to learn to curl my hair again. Plus, Jeffrey really likes me to wear it that way. Ha!
First, I needed to look for a good curling iron. I wanted something that was good quality but not too expensive.
I have heard so many great things about this curling iron. It’s also nice that it has the different attachment, but it didn’t meet my criteria of not being too expensive. I believe it also comes in single barrel sizes too for a little less but still just way too pricey.
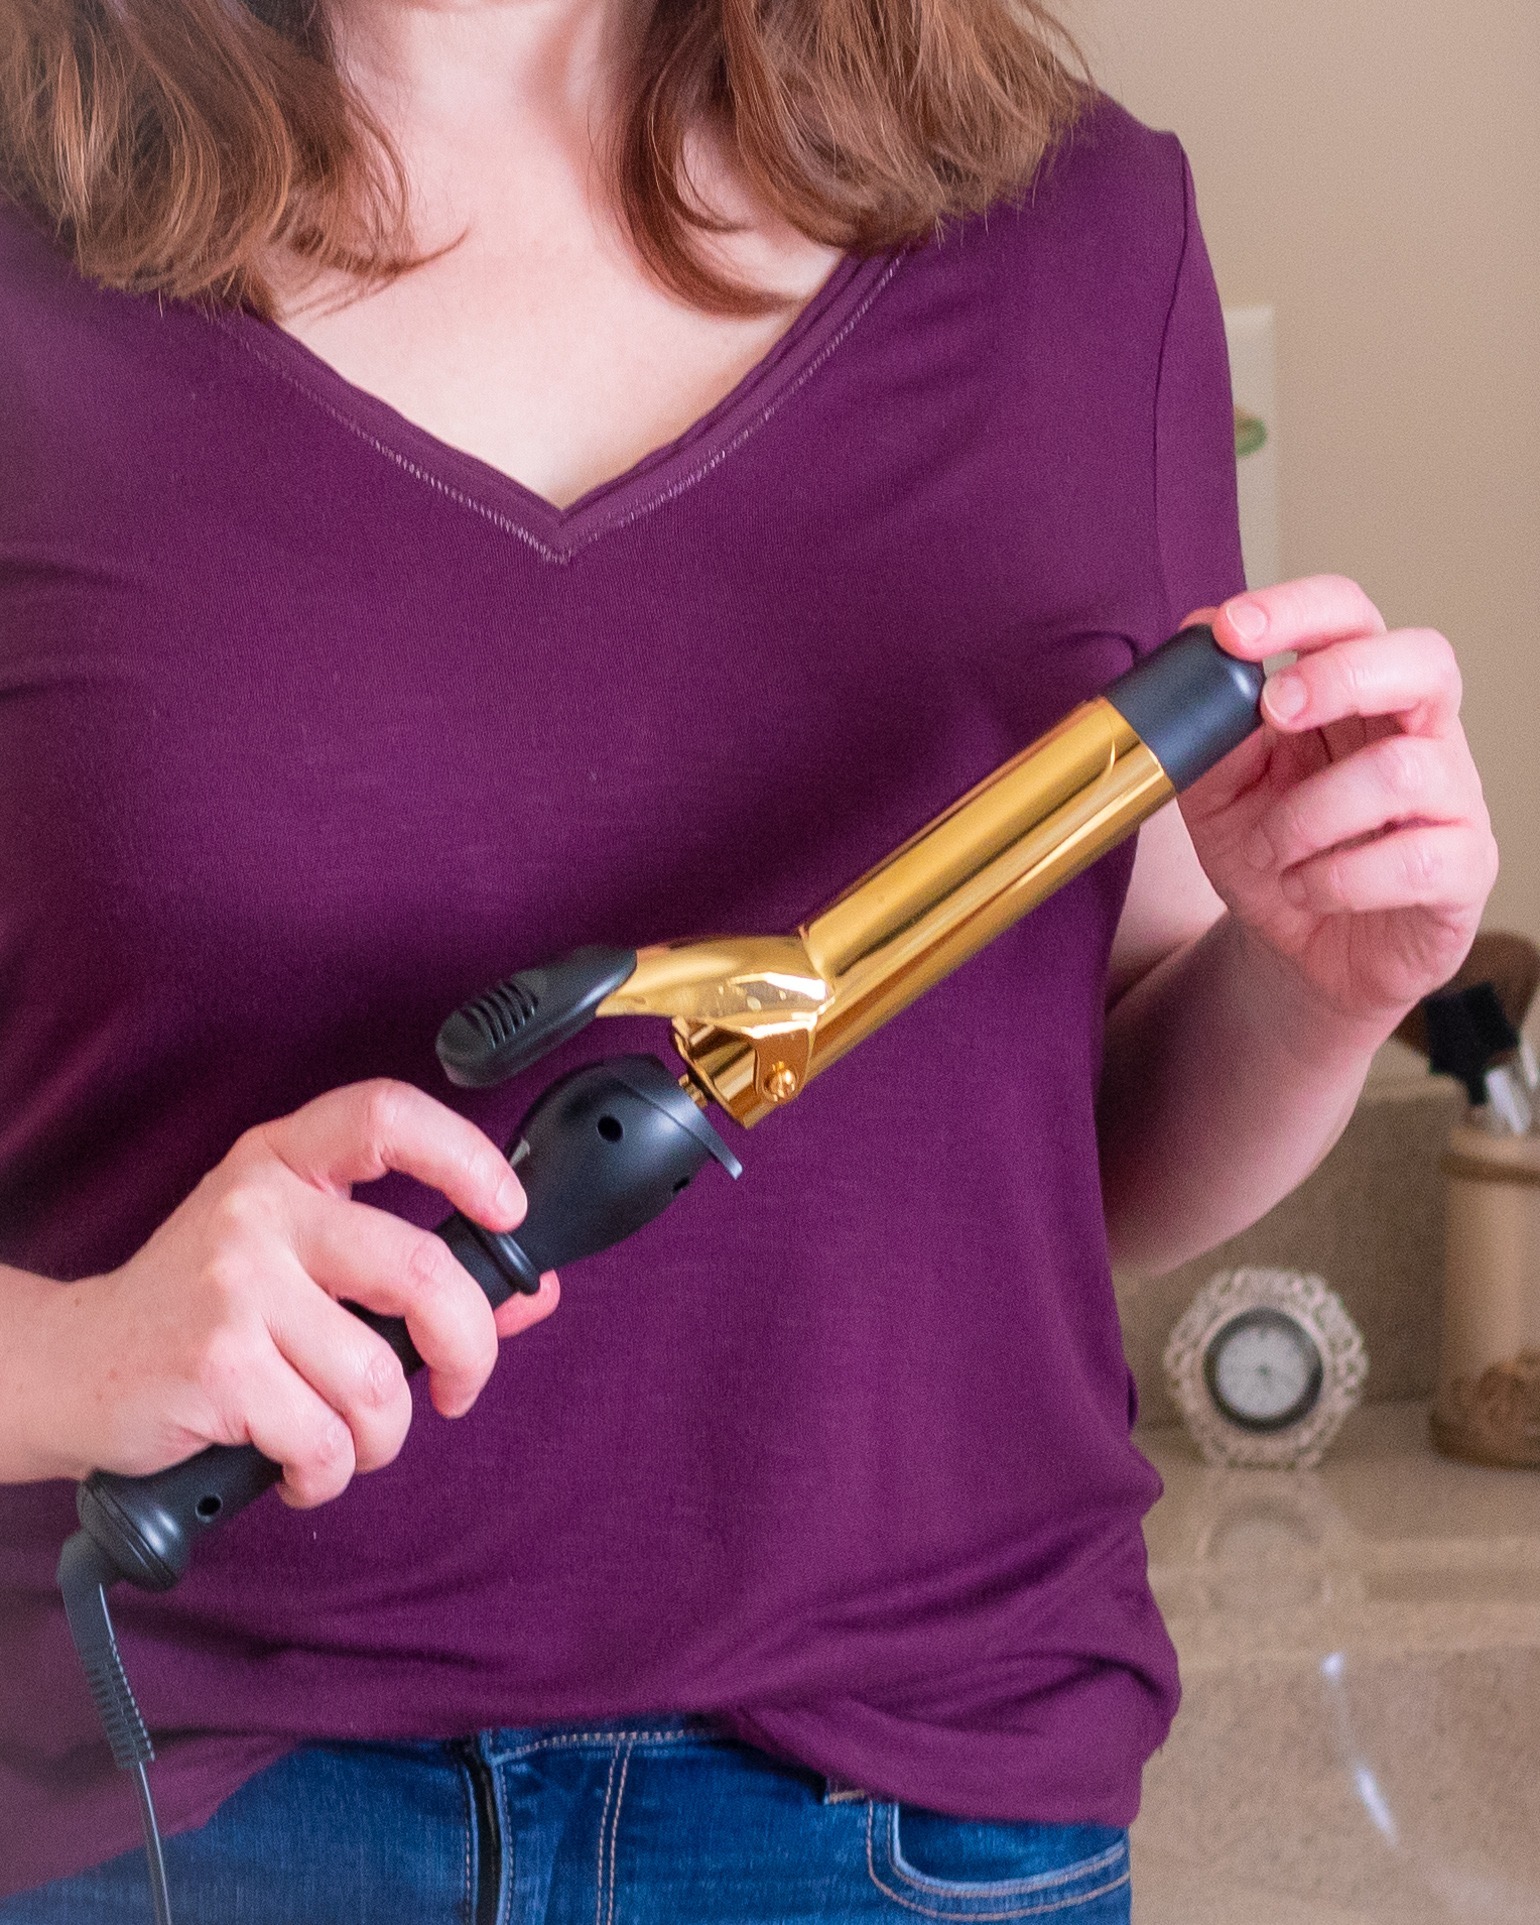
Instead, I decided to try this Paul Mitchell curling iron, and I love it! It is easy to use for practicing perfecting curls. It heats up fast and can be adjusted to a variety of specific heat settings.
Plus, I don’t see myself changing my hairstyle anytime soon to need a different sized barrel – mine is the 1.25″ barrel. You can check for different sizes in this iron in the widget at the end of this post.
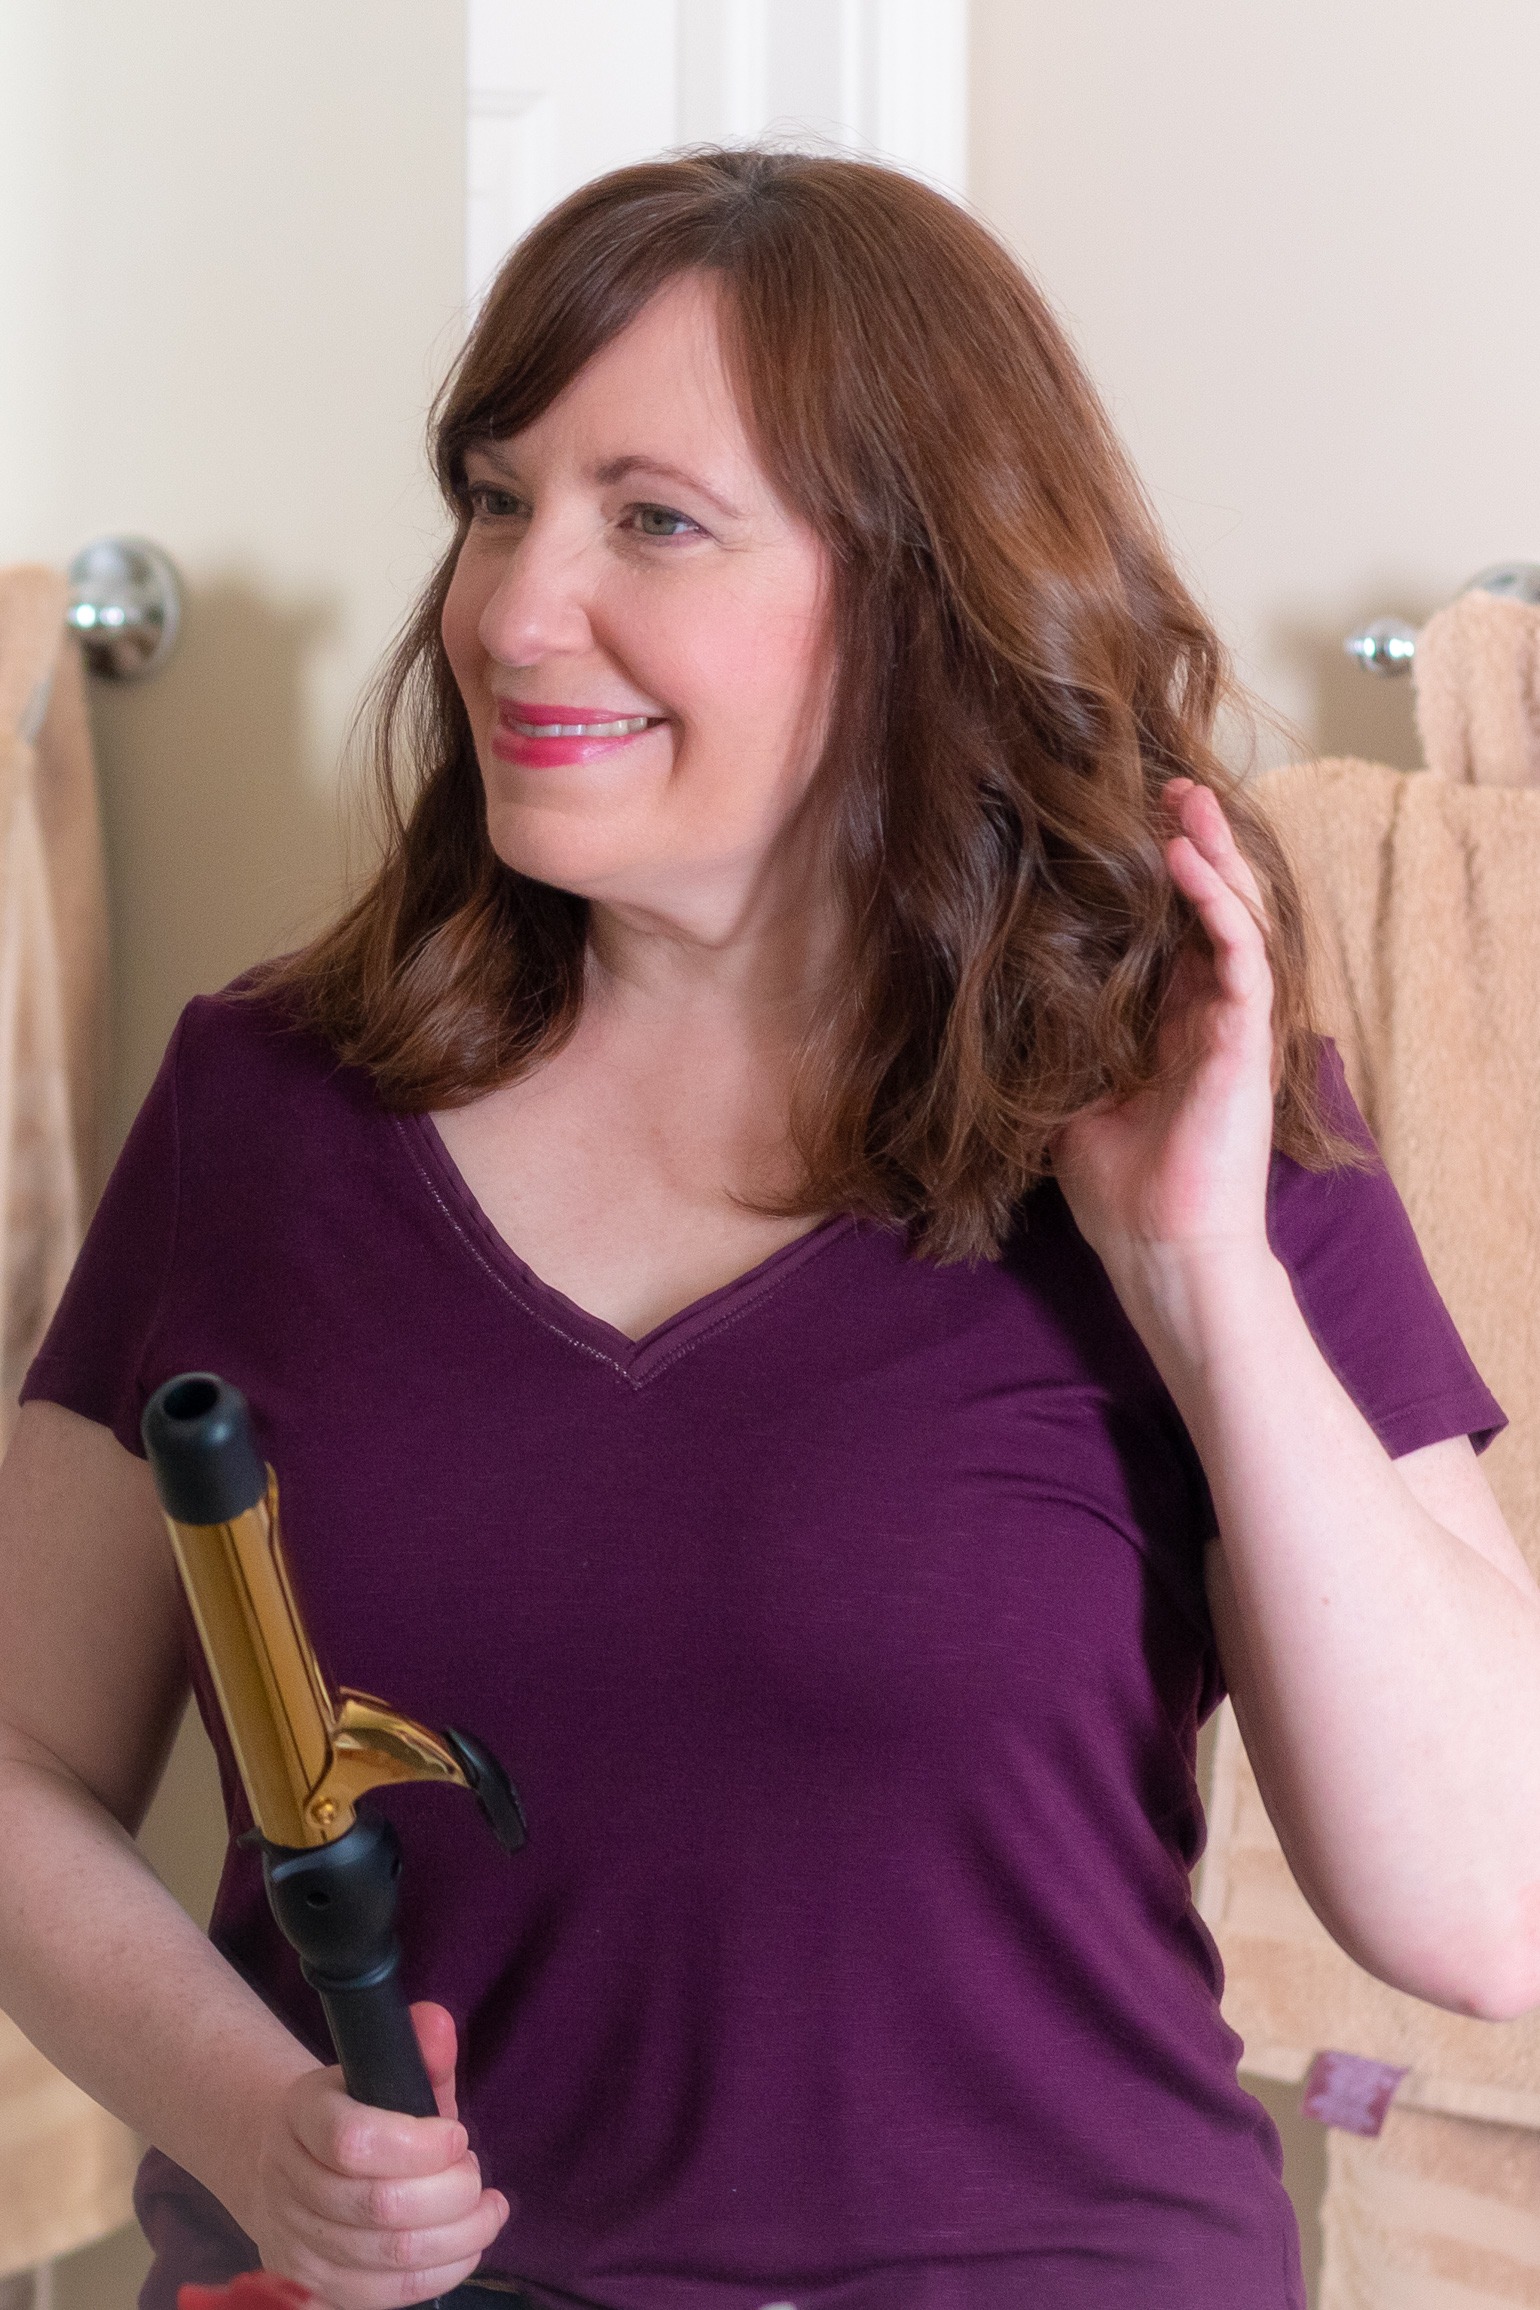
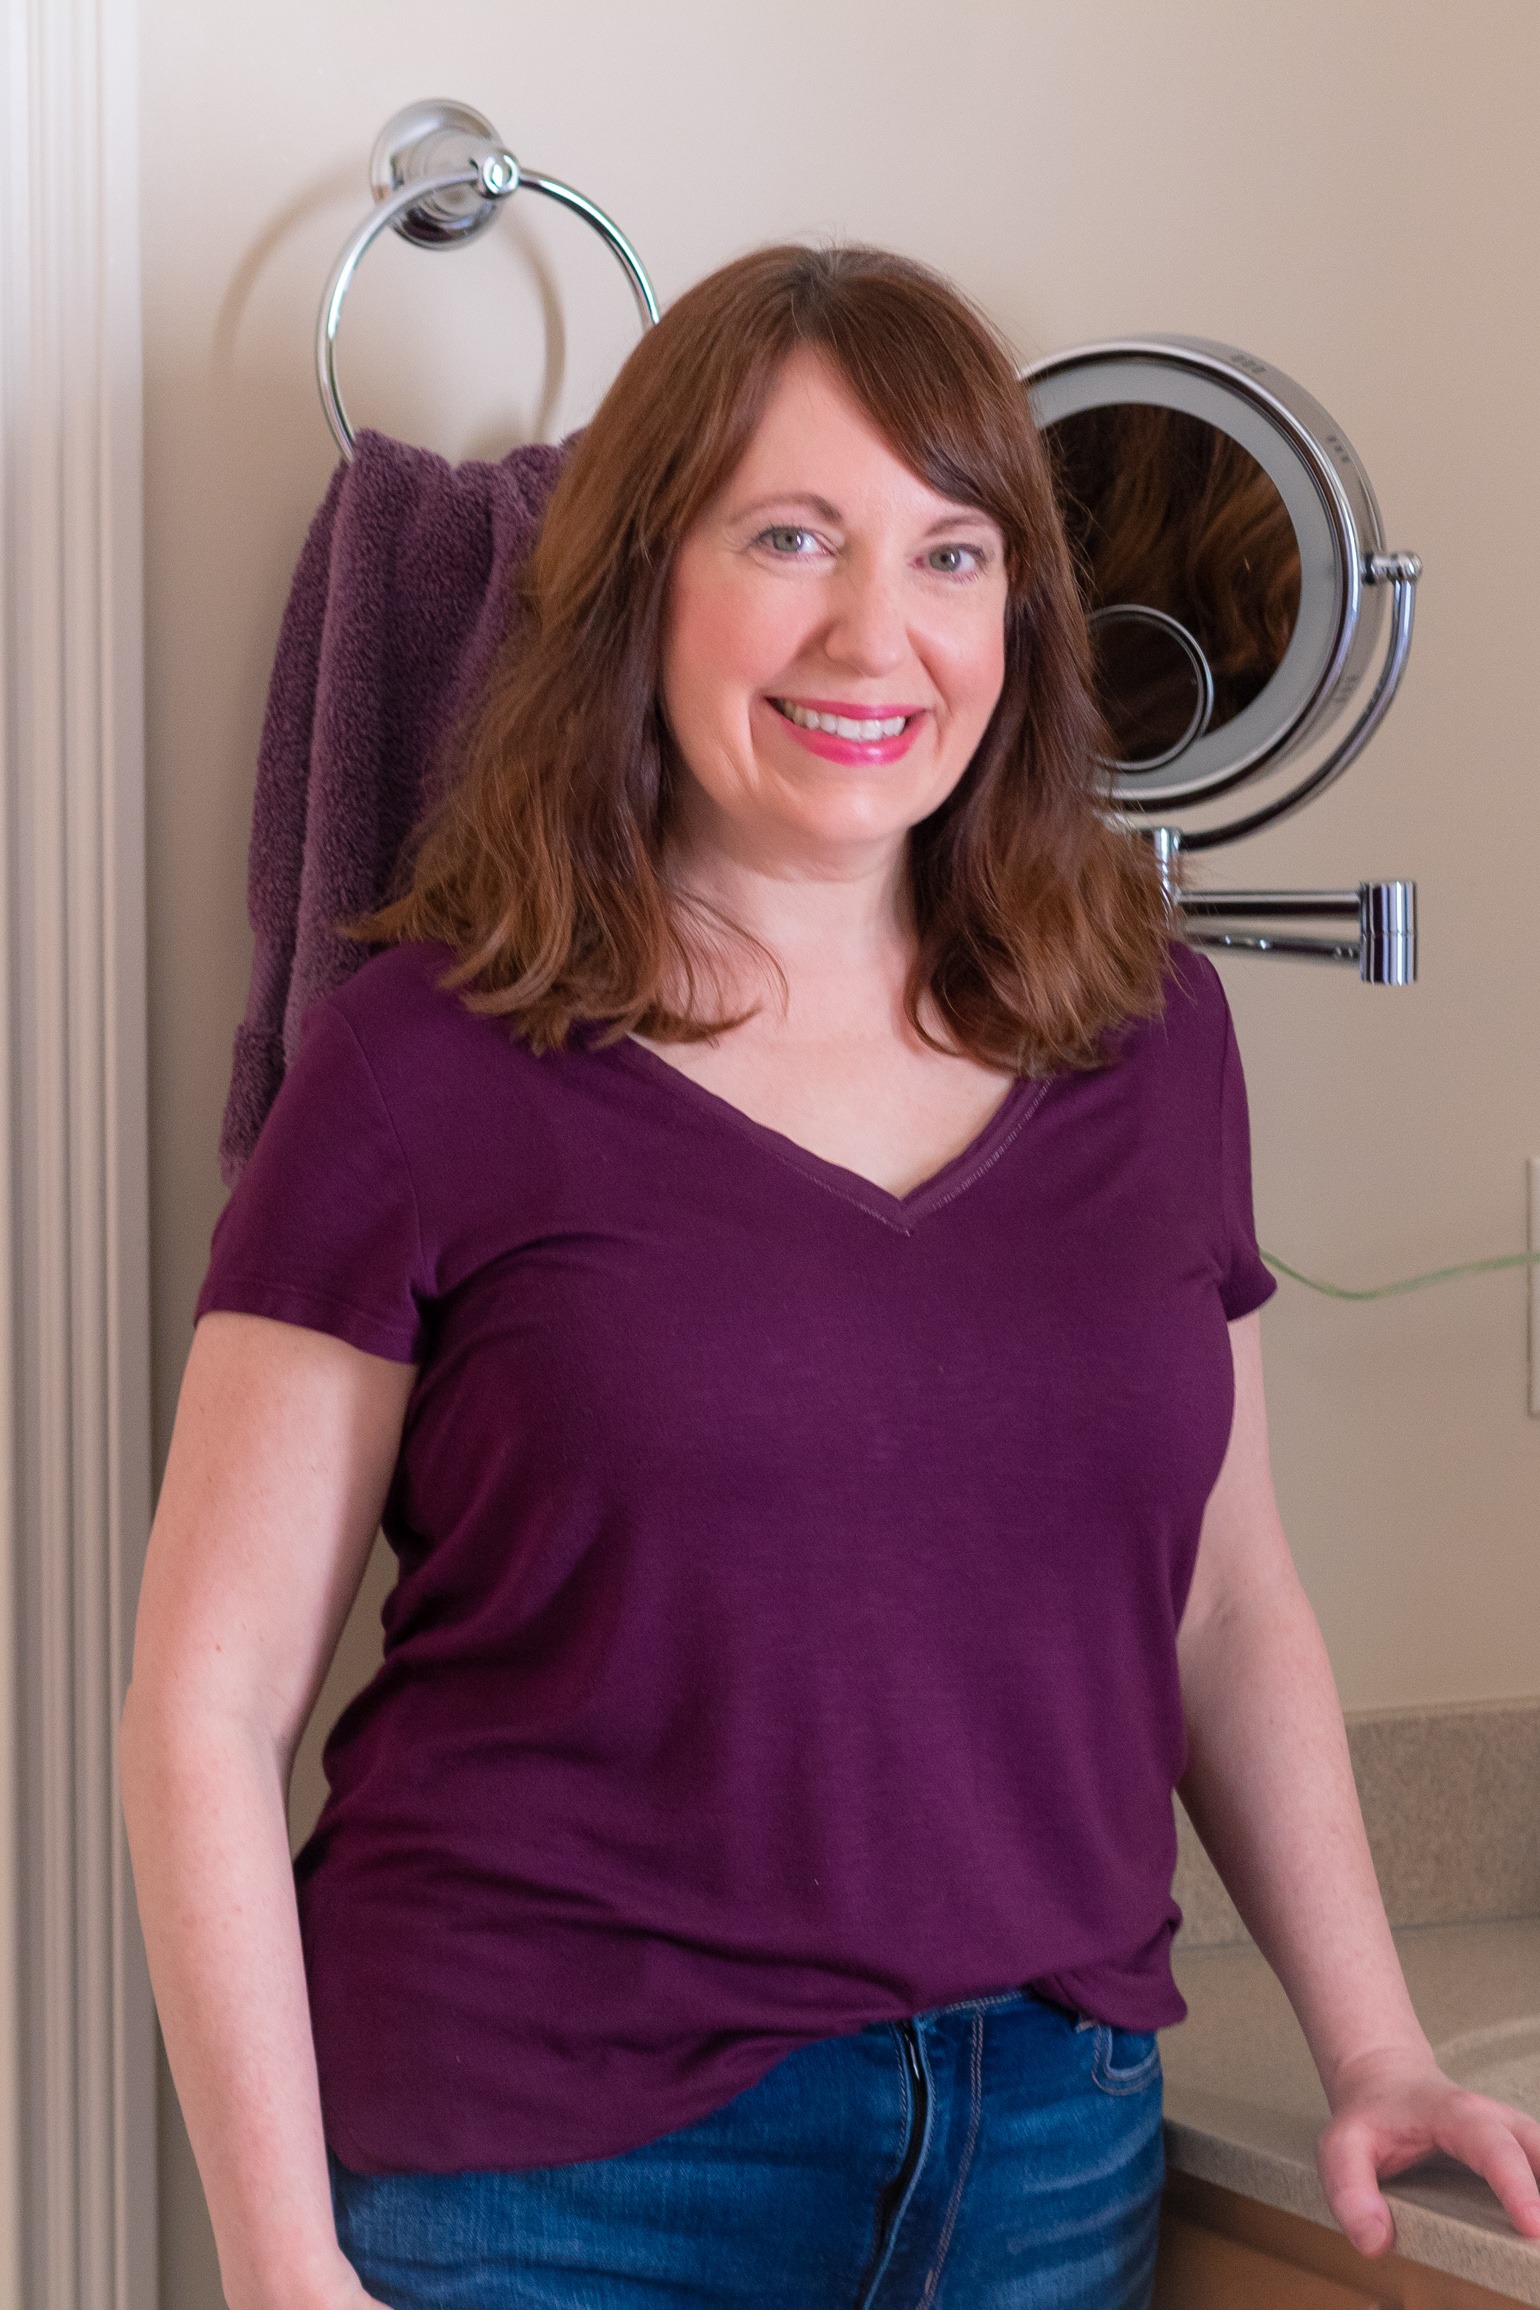
My curls last through the day better than with any other curling iron I’ve used in the past! It also has a nice long swivel cord.
The only downside is the stand could be a little better, but that is a minor issue compared to what a great quality curling iron this is for under $70. I really just need to order one of these heat resistant pads to protect my countertops, plus it would be great for travel too!
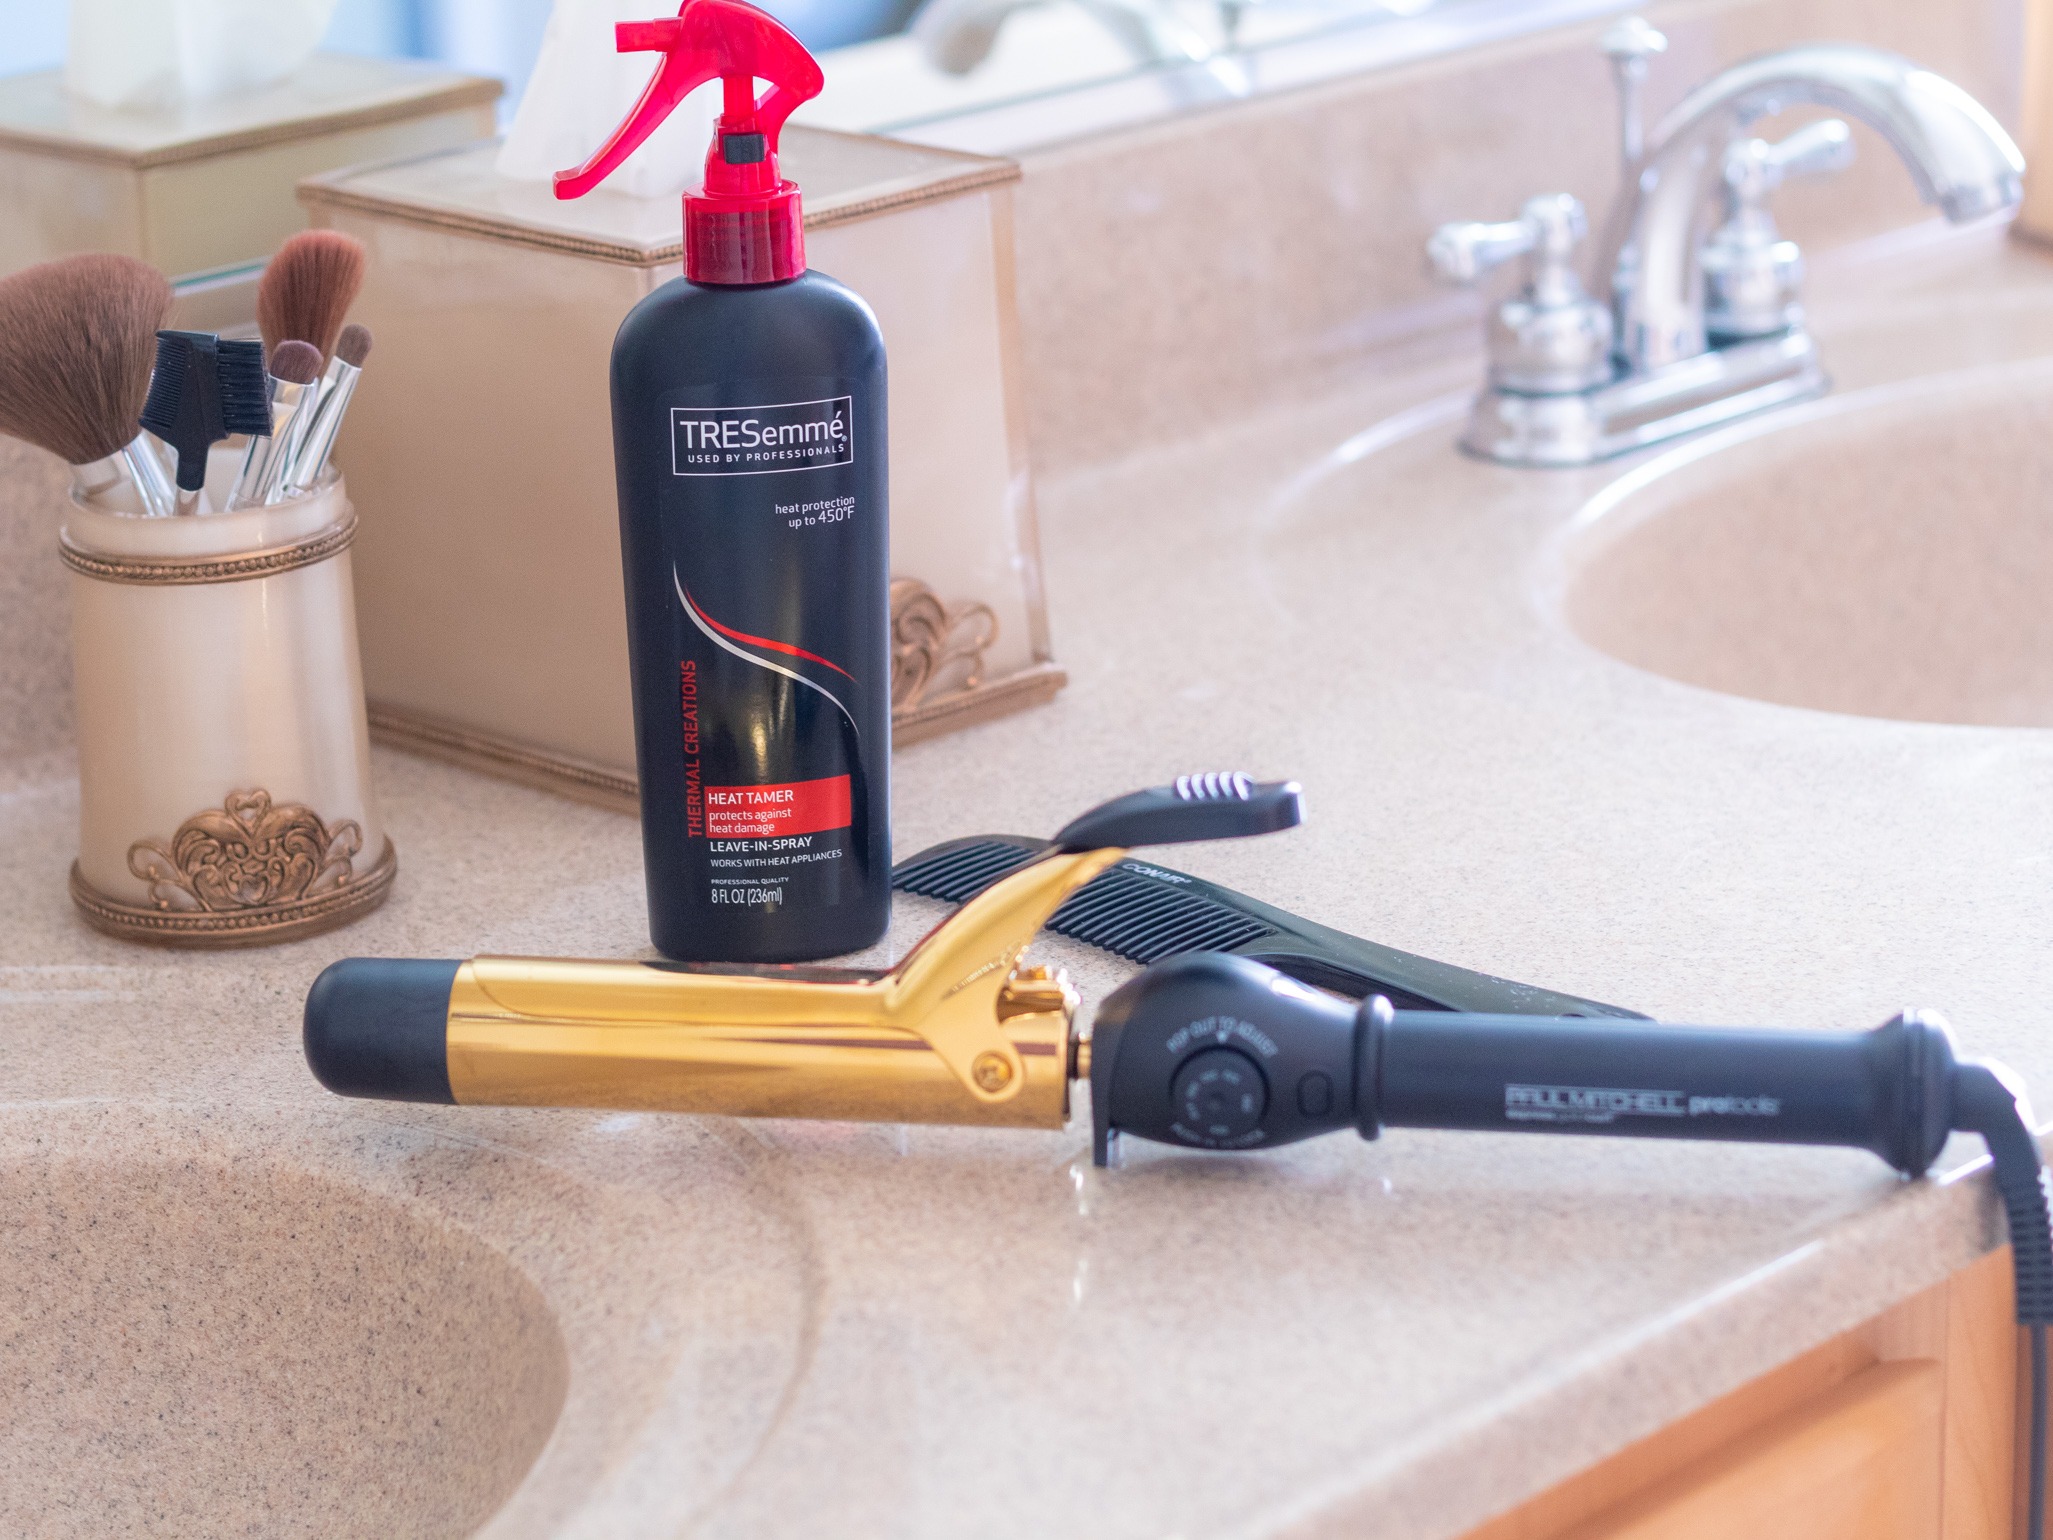
Curling Iron | Heat Protector Spray | Similar Wide Tooth Comb Here & Here
I’ve also shared this heat tamer that I use after every hair wash. It works very well for me. Once I’ve dried my hair, I will sometimes spritz a little more over it before I use the curling iron.
While I am still practicing curling my hair, if you need any tips for using a curling iron, here are some that have helped me along the way.
Use the lowest heat setting you can to achieve the level of curls you want, so you don’t damage your hair. This curling iron makes that easy with its adjustable heat dial.
I hold my curling iron in a vertical position as pictured below. I also start curling with the clip facing outward in front of the hair to grab it where I can see it rather than behind the strand I’m trying to curl.
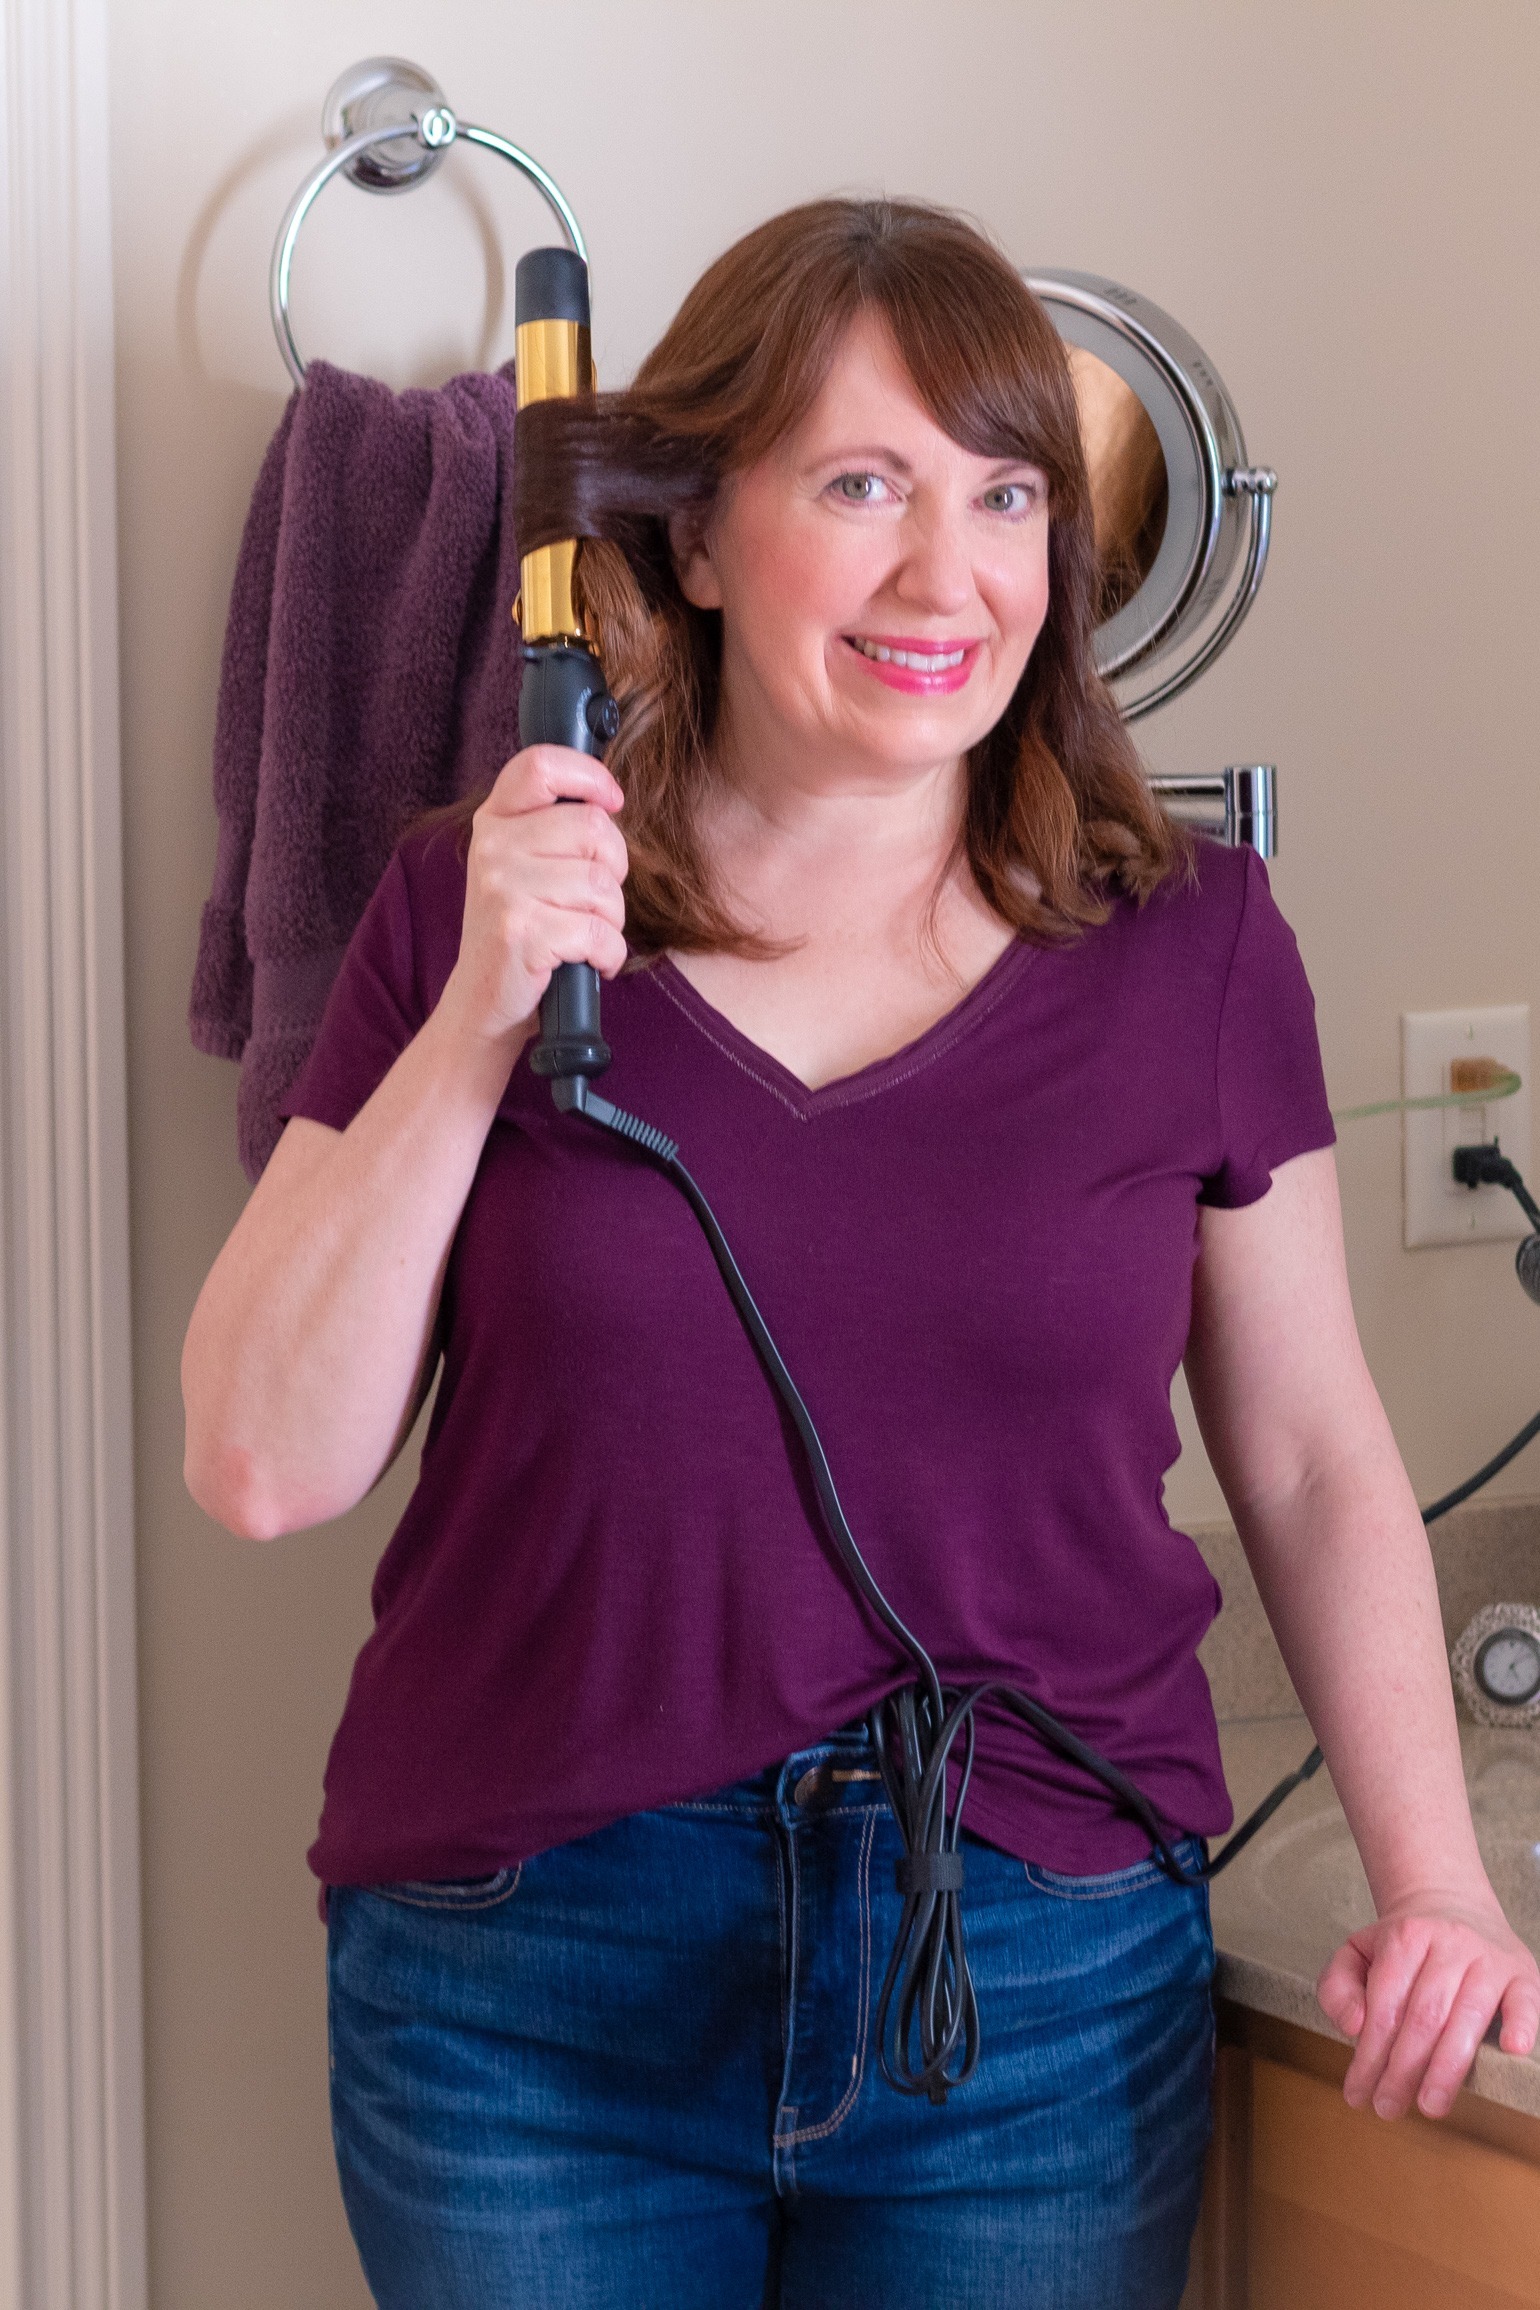
Leave the very end of your hair out of the the clip. In other words, don’t wrap the iron all the way to the end of your hair.
Finish curling each strand by loosening the clip and letting the hair fall straight out. You can then tug on the ends of your hair for a looser wave. I generally let my curls cool before doing this or brushing through them with my fingers.
You don’t have to be perfect either. My hair doesn’t seem to come out the exact same way twice! Plus depending on the texture of your hair, it may not look exactly like someone else’s curls you admire. Learn to love your own – they are beautiful!
When we can finally go back to the hair salon, watch your stylist closely and ask questions for doing your hair at home. That really helped me.
Right now is a great time to practice curling your hair. If you need some visual cues, I highly recommend checking out Kate’s tutorials on curling your hair.
Lookin’ good!
Thank you!
Encouraging for those of us who are a bit intimidated by the curling iron. And, your hair looks great!
Thank you! It does take a little practice, but you can do it!!
I love your hair curled…so pretty. I learned a lot by watching Kate Bryan’s tutorials.
Thanks! Yes, her tutorials are very helpful!